
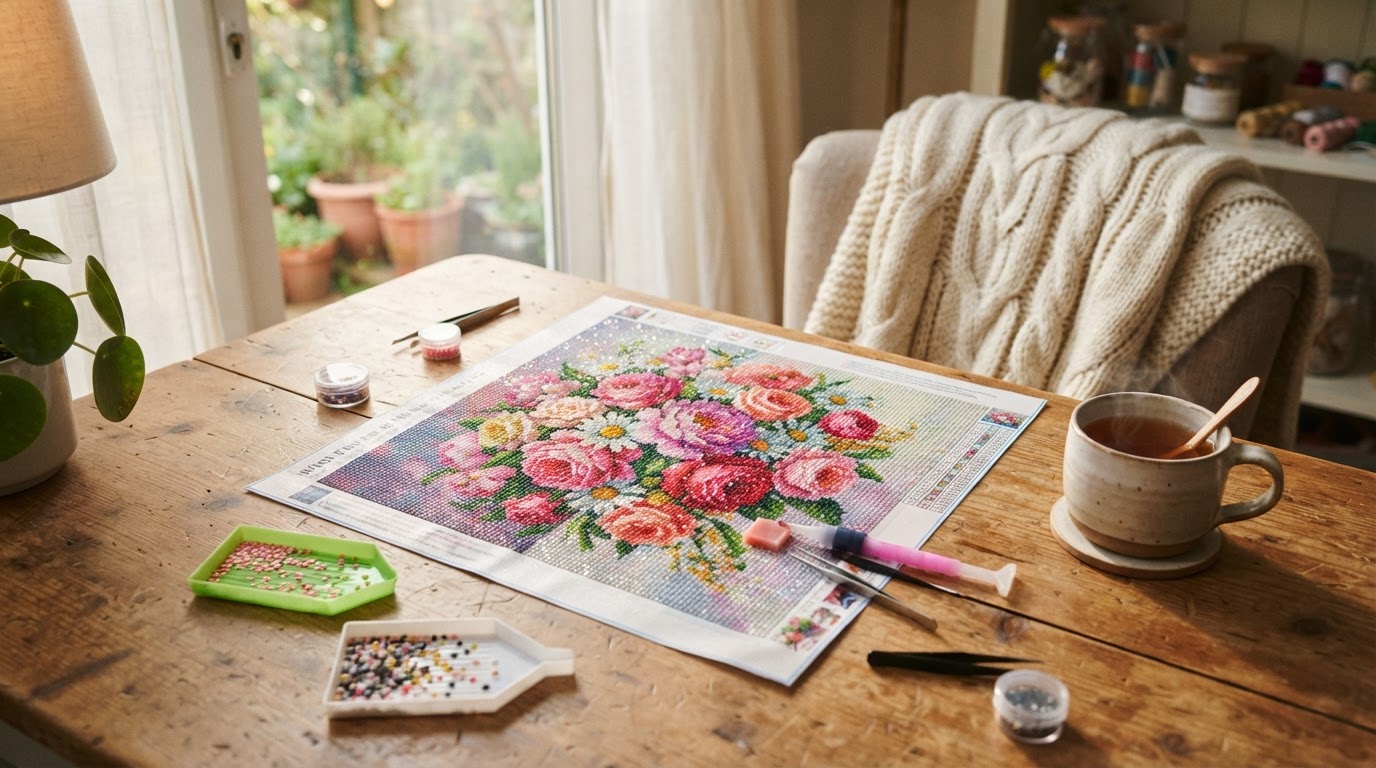
Diamond painting is simple: you press tiny resin “diamonds” (called drills) onto a sticky canvas, one symbol at a time, until a sparkling picture appears. No drawing skills, no paint, no mess. This guide walks you through everything you need for your first project, from opening the kit to hanging the finished piece.

What is diamond painting?
Think of it as a mix of paint by numbers and cross-stitch. The canvas is printed with a grid of small symbols and covered with a layer of adhesive. Each symbol matches a numbered bag of drills in one color. You pick up drills with a special pen and press them onto the matching symbols. Bit by bit, the colors build into a shimmering mosaic.
Many people find it deeply relaxing: the repetitive motion, the small wins with every finished section, and the satisfaction of a picture slowly coming to life.
What’s in a diamond painting kit?
Most kits include everything you need to finish the picture:
- The canvas: printed with symbols, covered in adhesive and protected by a plastic film.
- Drills: small resin pieces sorted into labeled bags, one per color. They come in round or square shapes.
- A drill pen: its tip picks up one drill at a time.
- Wax or gel: you dip the pen tip in it so the drills stick to the pen.
- A tray: you pour drills into it, and its ridges help line them up the right way.

Round or square drills: which is easier?
Round drills are more forgiving: they’re easier to place and don’t need perfect alignment, which makes them a good choice for a first project. Square drills fit edge to edge for a fuller, more detailed finish, but they take a little more patience to line up neatly.
How to set up your workspace
- Pick a flat, well-lit table. Good light makes the small symbols much easier to read. Many crafters use an LED light pad under the canvas.
- Flatten the canvas. Canvases are shipped rolled. Lay yours flat under a few heavy books for a few hours before you start.
- Check your drills against the chart. The legend on the canvas lists each symbol and its color code. Make sure every bag is there before you begin.
- Keep the protective film on. You’ll only peel back a small section at a time so the adhesive stays fresh.
Step by step: your first section
- Choose a starting point. A corner is easiest: you can work outward without leaning over finished areas.
- Peel back a small square of film, about the size of your palm. Cut the film with scissors if you want to keep the rest covered.
- Pour one color into the tray and shake it gently so the drills flip flat side down.
- Load the pen: press the tip into the wax, then touch it to the top of a drill.
- Place the drill on a matching symbol and press lightly. Repeat until every symbol of that color in the section is filled.
- Switch colors, pour the old color back into its bag, and continue until the section is complete. Then lay the film back down and move to the next area.

Beginner tips for a cleaner finish
- Work in rows or small blocks. It keeps square drills straight and makes gaps easy to spot.
- Use a multi-placer for big areas. These pen tips pick up several drills at once and save a lot of time on backgrounds.
- Roll over finished sections. Gently pressing with a rolling pin or the side of a jar helps every drill stick firmly.
- Keep the canvas covered when you stop. Dust and pet hair are the enemies of sticky adhesive.
- Take breaks. Long sessions of close-up work tire your eyes and neck, so stand up and stretch regularly.
Common beginner mistakes
- Peeling off all the film at once. The adhesive dries out and collects dust.
- Mixing up similar symbols. Some colors are very close. Double-check the legend when two symbols look alike.
- Starting with a huge canvas. A small or medium kit gives you a finished piece sooner, which keeps you motivated.
How long does a diamond painting take?
It depends on the canvas size, the number of colors and whether the design is full or partial drill. A small canvas can be done in a few relaxed evenings, while a large, detailed piece can take several weeks of regular sessions. Don’t rush it: there’s no deadline, and part of the fun is watching the picture slowly come together.
What to do when you finish
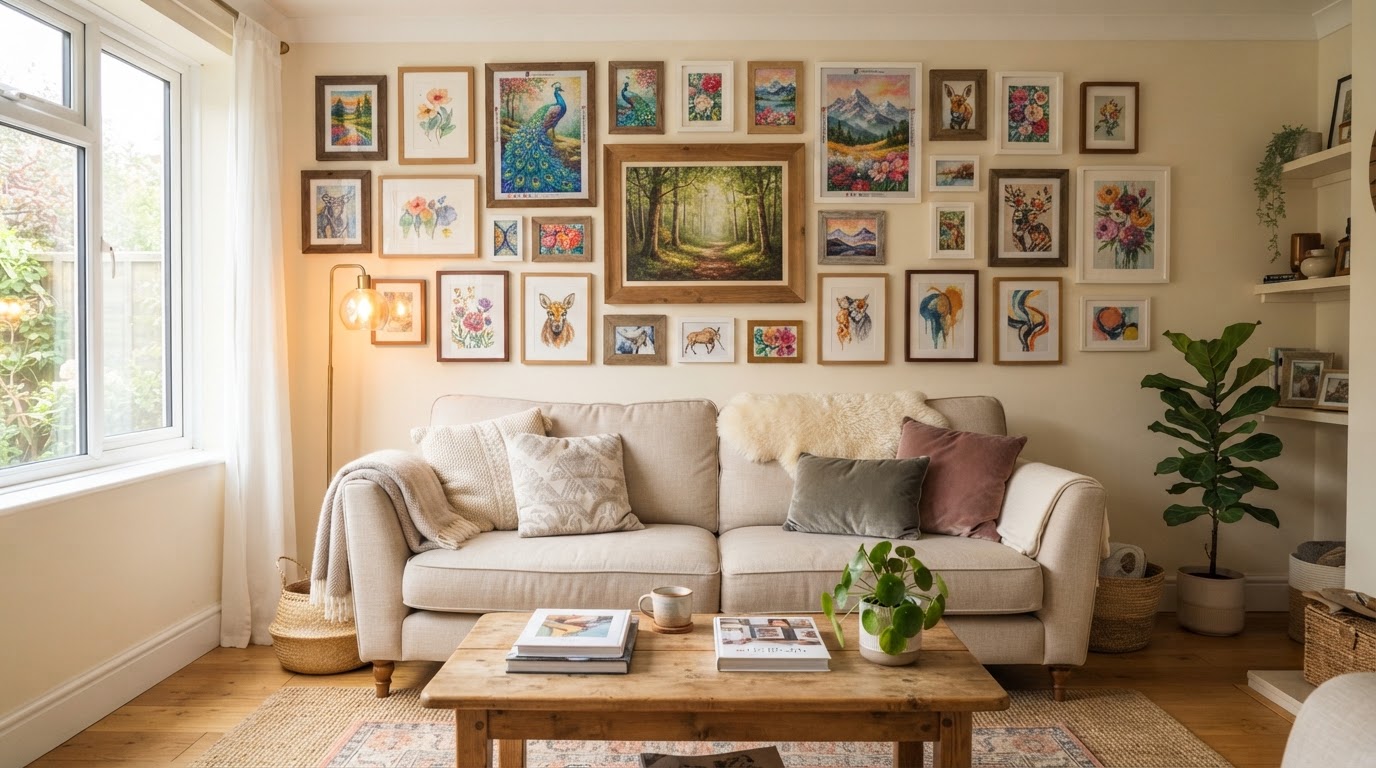
Press the whole canvas one last time to set the drills, then decide how to show it off. You can frame it, mount it on a board, or seal it to protect the surface. We cover every option in our guide to framing diamond paintings (coming soon).
Frequently asked questions
Is diamond painting hard for beginners?
Not at all. If you can match a symbol to a chart, you can do it. Start with a small kit with round drills.
What if I run out of drills?
Most kits include extra drills of each color. If you do run short, contact the seller with the color code; many will send replacements.
The canvas has lost its stickiness. What can I do?
Keep unused areas covered. If a section has dried out, a thin layer of clear double-sided tape or a little craft glue can rescue it.
Can kids do diamond painting?
Yes, with supervision. The drills are small, so keep them away from young children who might put them in their mouths.


Leave a Reply