
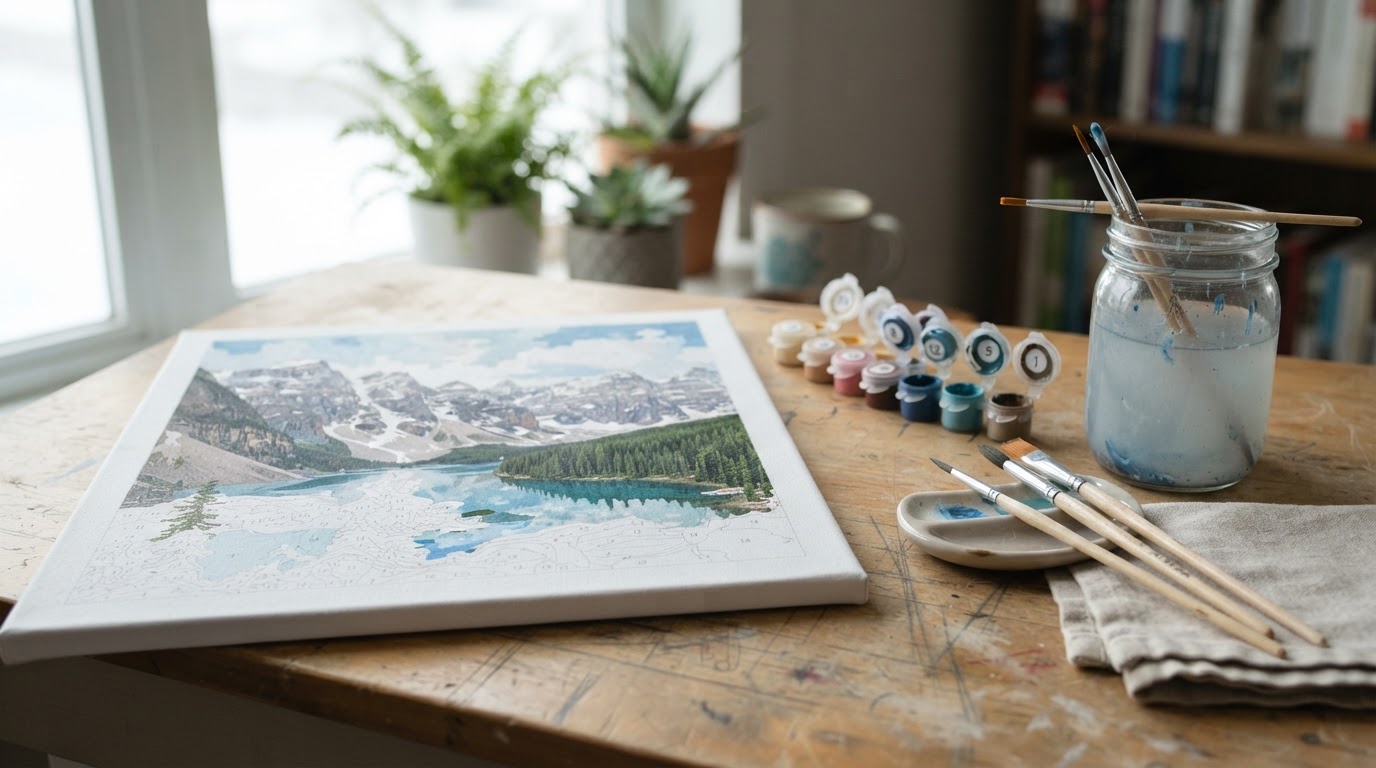
Finished your first paint by numbers and noticed visible numbers, patchy areas or wobbly edges? That’s completely normal. These practical tips will help your next canvas look cleaner and more like a “real” painting, without any art training.

1. Use the right brush for each area
- Fine round brush: tiny areas, outlines and details.
- Medium round brush: most of the painting.
- Small flat brush: large areas like skies and backgrounds, for smoother coverage.
Kit brushes work, but a set of synthetic detail brushes is a cheap upgrade that makes edges noticeably crisper.
2. Choose a painting order
There’s no single right order, but these approaches all help:
- Dark to light: light colors cover dark edges more easily than the other way round, so small slips are easier to hide.
- Top to bottom: your hand won’t rest on wet paint.
- Large areas first: quick visible progress keeps you motivated.
3. Cover the numbers completely
Visible numbers are the most common complaint. Paint a thin first coat, let it dry fully (usually 15 to 30 minutes), then add a second thin coat where the number still shows. Two thin coats look smoother than one thick one.
4. Keep the paint at the right consistency
- Stir each pot with a toothpick before using it.
- If paint gets thick, add one drop of water at a time.
- Open only the pot you’re using and close it firmly afterwards.
- Don’t dip the brush too deep; paint on the ferrule (the metal part) ruins brushes.

5. Get cleaner edges
- Load less paint on the brush for edges.
- Paint the outline of an area first, then fill the middle.
- Rotate the canvas so you always paint at a comfortable angle.
- Rest your painting hand on a clean sheet of paper to keep it steady.
6. Fix mistakes without stress
- Wrong color: let it dry, then paint over it with the right one. Light colors may need two coats.
- Crossed a line: once dry, touch up the neighboring area with its own color.
- Paint dried out: try a few drops of warm water and wait. If it can’t be saved, a craft store acrylic in a close shade usually works for small areas.
- Can’t read a number: check the printed reference sheet included in the kit.
7. Look after your brushes
Rinse brushes between colors and never let acrylic dry on them. At the end of a session, wash them with mild soap and lukewarm water, reshape the tips and let them dry lying flat.
8. Finish like a pro
When everything is dry, step back and check for missed spots under good light. Wait a day, then apply a thin coat of acrylic varnish (matte or gloss, your choice) for an even finish and protection from dust and fading.
Just getting started? Read our step-by-step beginner’s guide first.
Frequently asked questions
Should I paint by color or by area?
Painting one color at a time saves paint and cleanup. Painting area by area lets you see a section come to life. Both work; pick what you enjoy.
Can I mix colors?
Yes, once you’re comfortable. Blending neighboring shades slightly can make a painting look more natural.
Why does my painting look flat?
Uneven coverage is usually the cause. A second coat on light areas and a final varnish make colors look richer.


Leave a Reply