
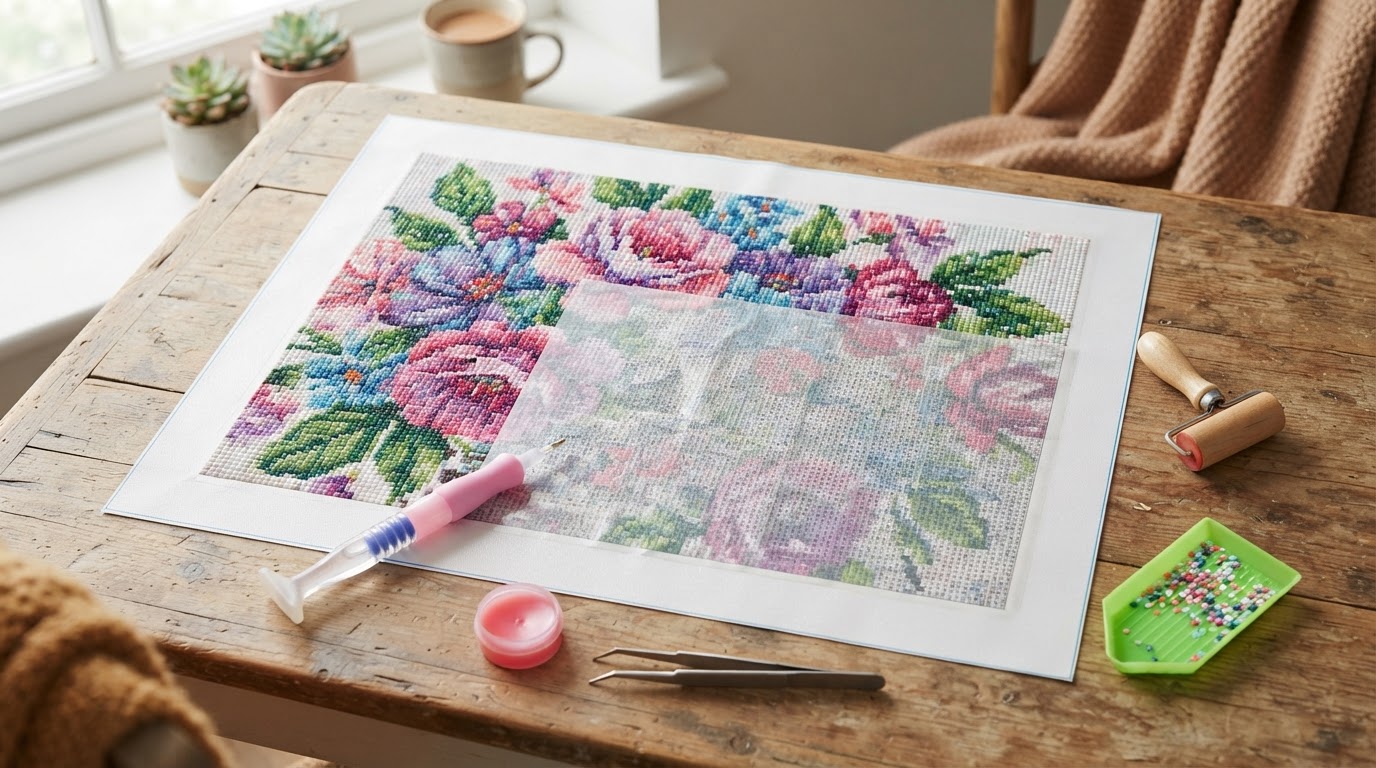
Diamond painting is one of the most relaxing crafts there is, until the canvas curls, the glue stops gripping or you run out of one color with half a sky still to fill. The good news: almost every problem has a quick, cheap fix. Here are the ones we see most often, and what to do about each.
1. The canvas won’t lie flat
Canvases are shipped rolled, so they love to curl back up. Unroll it, lay it face down on a clean table (keep the protective film on), and put heavy books on the corners overnight. If it still curls, roll it gently the opposite way for a few minutes. A clipboard or a few binder clips on the edges also keep it steady while you work.
2. Creases in the canvas
Keep the film on and press the crease under heavy books for a day or two. For stubborn folds, place a thin towel over the back of the canvas and use a hair dryer on low for a few seconds at a time, then press again. Never iron the front, the glue and film can melt.
3. Drills don’t stick
Usually the glue has picked up dust, hair or skin oils. Try these in order:
- Only peel back a small section of film at a time, and put it back when you take a break.
- Press each finished area firmly with a roller or a clean rolling pin.
- For a dead patch, add a very thin layer of clear double-sided tape or a little craft glue, then place the drills.
4. The pen won’t pick up drills
Refresh the wax. Press the pen tip into the wax square, twist, and you’re good for a while. If the wax is dry, warm it in your hand for a minute. Out of wax? A little bit of sticky tack or plain modeling clay works in a pinch.

5. Wax gets on the canvas or drills
Little white smudges on top of the drills come from too much wax. Use less, and wipe the pen tip on a tissue now and then. To clean the finished drills, dab them with a soft, slightly damp cloth or a lint roller, or brush gently with a soft makeup brush.
6. Rows look crooked
This mostly happens with square drills. Every few rows, run the straight edge of a ruler or a bank-style card along the line to nudge drills back into place. Fix crooked drills right away, before the glue sets around them.
7. You’re running out of a color
First, check the bags and the floor, drills hide everywhere. Then check that no drills of that color ended up in the wrong symbols. If you’re truly short, use the nearest matching color for a few scattered squares (the eye won’t notice inside a large area), or contact the kit seller: many will send replacement drills if you give them the DMC number.
8. Symbols are hard to read
Tiny symbols and similar shades are tiring on the eyes. Work under bright, even light, a light pad under the canvas or a daylight lamp makes a big difference. A magnifier or simply taking photos of the chart and zooming in also helps.
9. Drills placed in the wrong spot
Lift them out with tweezers or the tip of your pen. If the glue underneath gets pulled away, press a tiny piece of double-sided tape into the gap before placing the correct drill.
10. Static makes drills jump around
Plastic trays build static, especially in dry winter air. Wipe the tray with a dryer sheet, or rub your hands with a little hand lotion (then wipe them well so you don’t touch the glue with oily fingers).
11. Drills pop off the finished painting

Roll the whole canvas firmly when you finish, then seal it with a sealer made for diamond paintings, or frame it behind glass. Our guide on how to frame a diamond painting covers both options.
A small toolkit that prevents most problems
- A roller or rolling pin
- Fine tweezers
- A ruler or straight card
- Spare wax and a light pad or daylight lamp
- A storage box for drills (see how to store diamond painting drills)
Want to know what each tool does? Read diamond painting tools explained, or start from the basics with our beginner’s guide.
Frequently asked questions
Can I revive a canvas whose glue has dried out completely?
Yes. Double-sided tape or a thin, even coat of craft glue on small sections lets you keep going. Work a small area at a time.
Is it normal to have leftover drills?
Yes, kits usually include extras of every color. Keep them labeled in case you need to repair the painting later.
Should I remove all the protective film at once?
No. Keep most of it on so the glue stays clean and sticky. Peel back only the area you’re working on.



Leave a Reply